How to Coil a Climbing Rope: Your Guide to Taming the Tangle
Have you ever found yourself wrestling with a tangled mess of climbing rope before embarking on your adventure? We’ve all been there, and it can be frustrating. But fear not, my fellow climbers! Coiling a climbing rope doesn’t have to be a daunting task. In fact, it’s a valuable skill that not only keeps your gear organized but also ensures your safety on the rock. So, grab your rope, and let’s dive into the art of coiling a climbing rope!
The Importance of Coiling
Before we jump into the how-to part, let’s take a moment to appreciate why coiling your climbing rope is so crucial. Picture this: you’re halfway up a challenging route, the adrenaline is pumping, and you need to pull out more rope to continue your ascent.
When climbing, a tangled, knotted, or kinked rope can lead to disaster. To minimize the risk of entanglements and rope drag, it’s crucial to properly coil your rope. Coiling isn’t just a neat trick – it’s a safety necessity. If you’re in the market for a climbing rope, it’s important to know what to look for. Check out our climbing rope buying guide for quick tips on finding the perfect rope for your needs.
Gather Your Gear
To get started, gather the following items:
Climbing Rope: Obviously, you’ll need your climbing rope. Make sure it’s clean and free of dirt or debris that could damage it.
Flat Surface: Find a clean, flat area to work on. This could be the ground, a tarp, or even a climbing rope bag.
Climbing Partner (Optional): Having a partner can make this process easier, especially when dealing with longer ropes.
Patience and Practice: These are the most important tools in your kit. Coiling a rope may seem challenging at first, but with practice, it becomes second nature.
The Butterfly Coil Method
Now, let’s dive into the most commonly used method for coiling a climbing rope: the Butterfly Coil. Imagine transforming your unruly rope into a beautiful butterfly ready to take flight.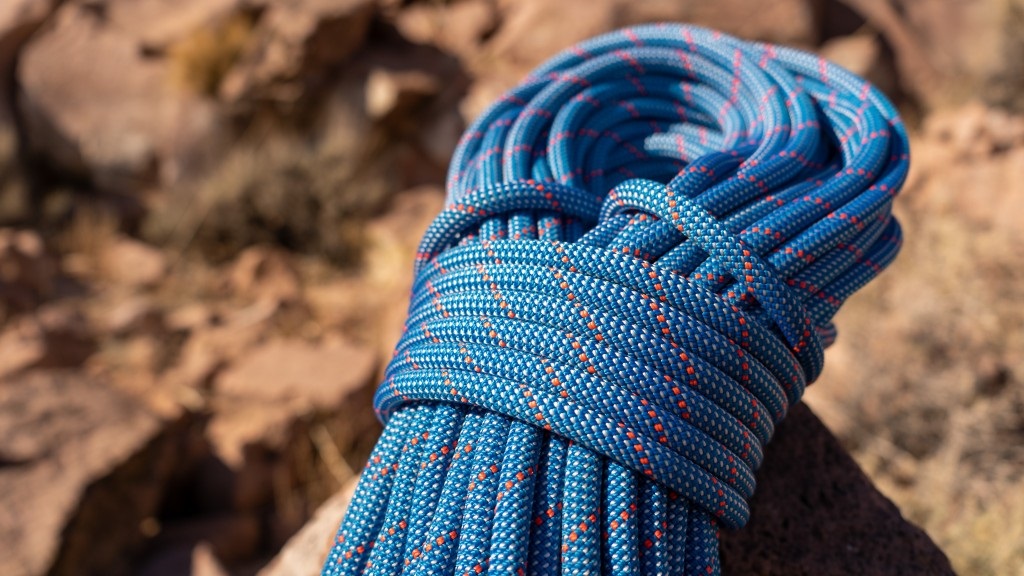
Step 1: Find the Middle
Lay Out the Rope: Start by finding one end of your climbing rope and laying it out in a straight line on your flat surface.
Locate the Middle: Fold the rope in half, making sure the two ends meet. This point is your rope’s middle.
Step 2: Create the First Loop
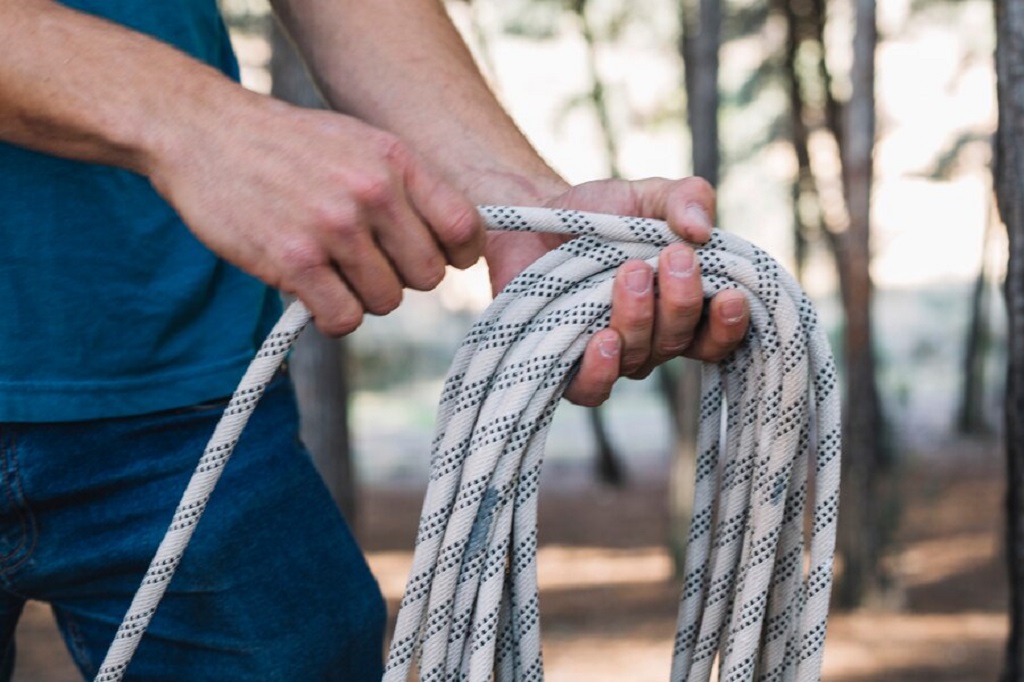
Make a Loop: Hold the middle of the rope in one hand while using the other hand to create a loop, about arm’s length.
Wrap the Loop: Take the loop you just made and wrap it around your hand in a clockwise direction. Keep wrapping until you have a small coil.
Step 3: Add More Loops
Continue Wrapping: Keep coiling the rope in the same direction, adding more loops. Make sure each loop lies flat against the previous one.
Maintain Tension: As you coil, maintain gentle tension on the rope to keep it snug and prevent kinks.
Step 4: Finish Coiling
Repeat the Process: Continue coiling the rope until you have about a meter (three feet) of rope left.
Secure the End: With the remaining rope, wrap it around the coil a few times and tuck it through one of the loops to secure the coil in place.
Inspect Your Coil: Take a moment to admire your handiwork. You should have a neatly coiled climbing rope that resembles a butterfly ready to take flight.
Step 5: Storage
Store Properly: Now that your rope is beautifully coiled, store it in a rope bag or a backpack designed for climbing gear. This protects it from dirt, UV rays, and other elements that can wear it down over time.
And voila! You’ve successfully coiled your climbing rope using the Butterfly Coil method. With practice, you’ll become faster and more efficient at this essential skill.
The Alpine Coil Method
While the Butterfly Coil is the go-to method for most climbers, there’s another technique worth mentioning: the Alpine Coil. This method is particularly useful for longer ropes and when you need to carry your coiled rope on your harness.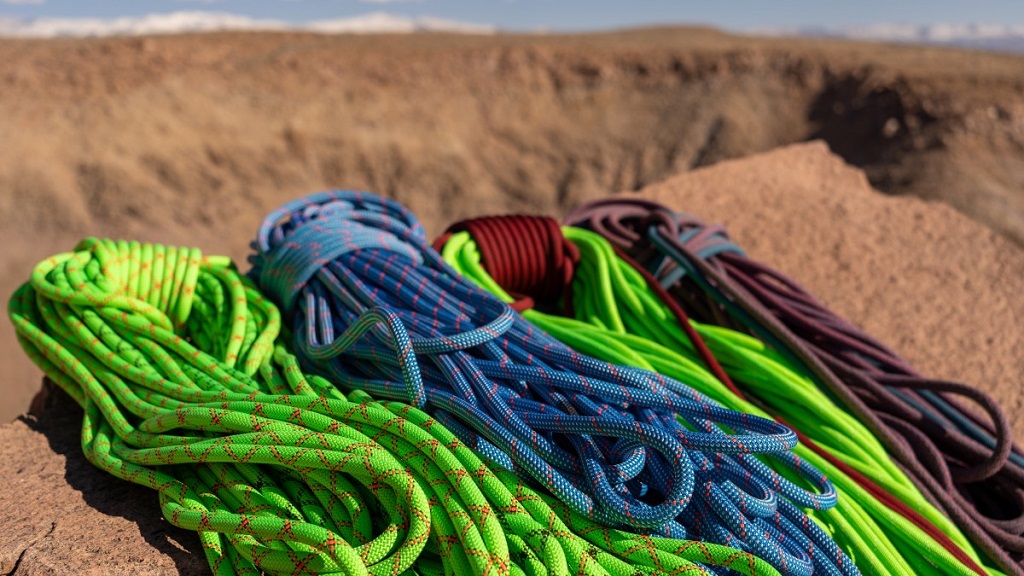
Step 1: Find the Middle
Lay Out the Rope: Start with the rope laid out straight.
Locate the Middle: Find the middle point of the rope by folding it in half so that the two ends meet.
Step 2: Create the First Loop
Make a Loop: Hold the middle of the rope in one hand and use the other hand to create a large loop.
Wrap the Loop: Wrap the loop around your arm or hand, making sure it remains wide and open.
Step 3: Add More Loops
Continue Wrapping: Keep wrapping the rope around your arm or hand, creating loops parallel to each other.
Maintain Tension: As with the Butterfly Coil, keep gentle tension on the rope to prevent kinks and ensure a snug coil.
Step 4: Finish Coiling
Repeat the Process: Continue wrapping the rope until you have only a small section left.
Secure the End: With the remaining section of rope, wrap it around the coil a few times and tuck it through one of the loops to secure it.
Step 5: Storage
Store on Your Harness: The beauty of the Alpine Coil is that it’s easy to carry. You can attach it to your harness using a carabiner or a rope clip.
Be Mindful of Length: When using the Alpine Coil on your harness, make sure the coil is not too long, as it could snag on rocks or other obstacles.
The Alpine Coil is a fantastic option for climbers who prefer to carry their rope on their harness. It’s compact and doesn’t dangle as much as other coiling methods.
Tips and Tricks for Perfect Coils
Coiling a climbing rope is an art, and like any art form, it requires practice and finesse. Here are some additional tips and tricks to help you achieve perfect coils every time:
Practice Makes Perfect: Don’t get discouraged if your first few coils look messy. Coiling is a skill that improves with repetition.
Maintain Tension: Keep a gentle but consistent tension on the rope as you coil it. This prevents kinks and tangles.
Watch Your Hands: Pay attention to where your hands are while coiling. They should move smoothly, and you should avoid twisting the rope excessively.
Inspect for Knots: Before and after coiling, run your hands along the rope to check for any knots or kinks. It’s easier to fix them before you start coiling.
Avoid Stepping on the Rope: When laying out the rope, be mindful not to step on it. This can create twists and tangles that are hard to remove.
Clean Your Rope: Regularly inspect and clean your climbing rope to remove dirt and debris. A dirty rope can wear out faster and be more challenging to coil.
Know Your Rope’s Length: Different ropes come in various lengths. Be aware of your rope’s length and adjust your coiling technique accordingly.
Teach Others: Share your knowledge with fellow climbers. Teaching someone else is an excellent way to reinforce your own skills.
Use a Rope Bag: Invest in a quality rope bag to store and transport your coiled rope. It provides protection and keeps your gear organized.
Conclusion
Coiling a climbing rope may seem like a small detail in the grand adventure of climbing, but it’s a skill that can significantly impact your safety and overall experience. With practice and patience, you’ll become a coiling maestro, ensuring your rope is always ready for the next ascent. So, go ahead and embrace the art of coiling—it’s your ticket to tangle-free climbing adventures!
FAQs
How tight should I coil my climbing rope?
You should maintain gentle tension while coiling your rope to prevent kinks and tangles. Think of it as a firm handshake rather than a vice grip.
Can I use the Butterfly Coil for shorter ropes?
Absolutely! The Butterfly Coil works well for ropes of various lengths. Just adjust the number of loops accordingly.
What if my rope already has kinks and twists?
If you notice kinks or twists in your rope, it’s best to deal with them before coiling. Lay the rope out straight and use your hands to work out the imperfections.
How often should I inspect and clean my climbing rope?
You should inspect your climbing rope before and after each use. Cleaning frequency depends on use and environmental conditions but doing it regularly is a good practice.
Can I use the Alpine Coil for all types of climbing ropes?
The Alpine Coil is a versatile method suitable for many types of ropes. However, be cautious with very long ropes, as they may not fit comfortably on your harness using this method.